NOTE: This method works well for birds coming in from different angles.
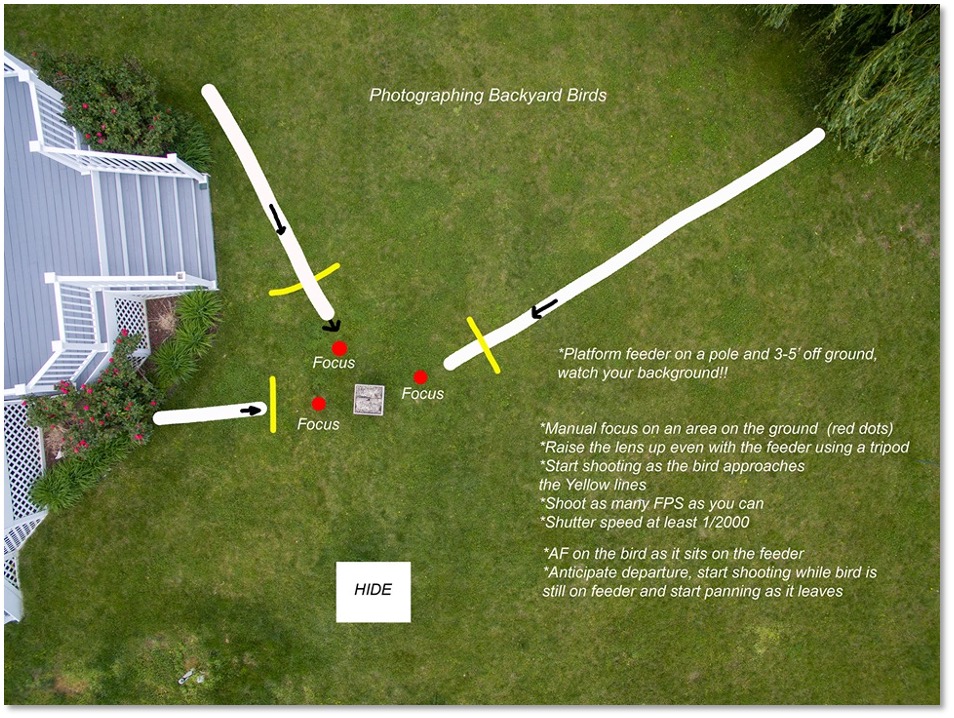
Here’s the second technique I mentioned earlier. Instead of focusing on the pole that holds the feeder, focus on spots on the ground. This method is a little more challenging, but quite simple once you do it a few times. Check out the image below. It’s an aerial shot of my yard taken with my drone. Not all birds will land exactly on the side of your feeder so you have to be creative.
In my yard, there are basically 3 different approach patterns. One from the rose bush on the left, the second one from the far side of the house, and the third from the weeping willow.

Okay, back to the overhead diagram. The short white line on the left is mostly traveled by Cardinals. They will first enter my yard and land in the weeping willow. When the
coast is clear, they will fly to the bush near the deck. Then from the bushes next to the deck, they will land on the side of the feeder closest to the deck, pretty much every time.
The longer line on the top of the image is also used by Cardinals, and Mockingbirds. The really long line on the right is mainly used by Blue jays and Woodpeckers. I can’t believe I know this, I obviously spend too much time doing this LOL.
As I mentioned earlier, initially I would hand hold the camera and using AF, try to shoot the birds as they flew into the yard, impossible, well not impossible but difficult. They are so fast and my field of view out of my hiding place was very narrow. You look at the feeder and no birds, look down, look back up, and there are 2 beautiful birds eating from the feeder. So I thought, how can I do this?
I went back to my old photography days of wedding photography and medium format cameras with manual focus. In particular, the bride coming down the aisle with her Father or whoever. I would manually focus on a pew about 10 pews from where I was standing at the altar. When the bride reached that pew, I would fire the camera. So I thought, hmmm, I wonder if this would work for BIF, and you know what? It does. Well kind of.
Just to get in the ball park, pick a spot on the ground (red dot) on the side of the feeder where the birds travel the most and manual focus on the ground. Now, raise the lens somewhere level with the feeder, then, turn the lens away from the feeder until it’s just out of the scene.
When you look through the viewfinder you will see an out of focus image, that’s what you want. When the bird flies through there, hopefully it will be in focus, at least that’s the goal. I hope this is making some kind of sense to you.
Now you are set and ready for your first bird. Using the diagram above, begin shooting somewhere around the yellow line. Don’t wait until the bird gets to the red dot, it will be too late. You need to be rocking and rolling prior to the bird reaching the feeder.
Assuming now your first bird has come and gone. They may all be out of focus or you only see parts of the bird. Don’t worry, this is a numbers game. You may have to change your focus area and keep changing until you start to get birds in focus. TIP: It’s very important to study the landing area of the feeder.
If you see most of the birds landing in the same spot, you can always focus on that spot on the feeder and then turn your lens away as mentioned earlier.
Expect to take a lot of shots. This is due to your camera frames per second being too small, or you’re not pointing the lens in the correct spot. If you can’t shoot more FPS, then swing the lens more towards or away from the feeder to catch a different pose.
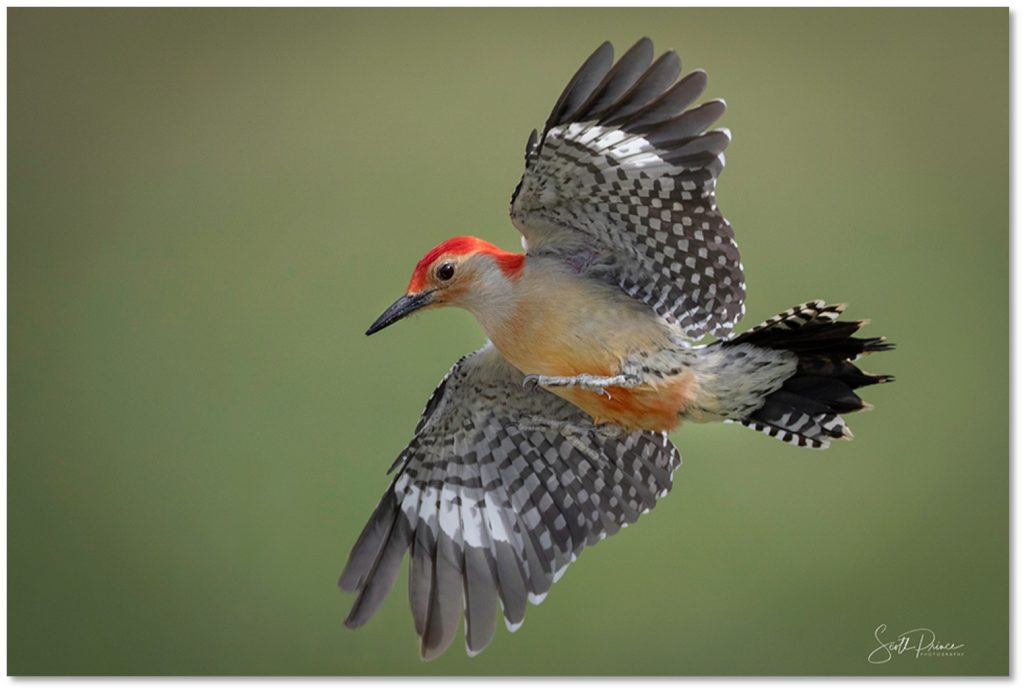
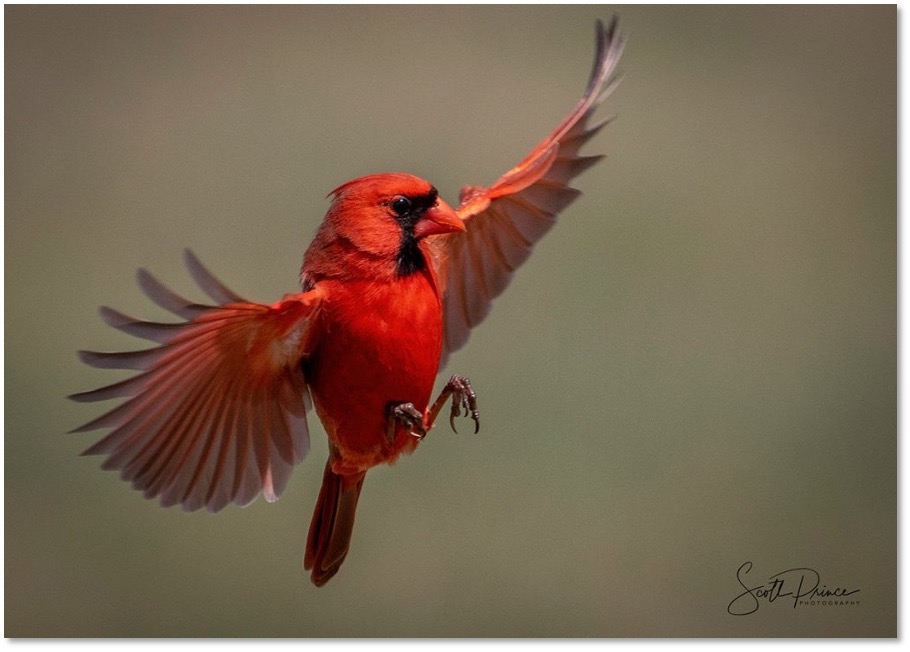
Again, studying the bird’s behavior is valuable here. I’ve seen a lot of Woodpeckers Cardinals, and Tufted Titmouse coming in low then sweeping up to land on the edge of the feeder. It’s best to concentrate on one bird species rather than trying to chase all of them. What I mean is if your zoomed in tight for small birds and then suddenly you get a lot bigger bird, you may chop off a wing of the bigger bird because you’re zoomed in really tight.
Some birds come in high, some come in low, so you’re not going to get all of them. Pick a bird and stay focused (no pun intended). It’s not unusual to shoot hundreds of frames and just get one bird in focus or close focus.
Speaking of focus. The eye of the bird must be in focus!! Don’t worry if the wings or tail or the feet aren’t in focus. Again, the eye must be in focus

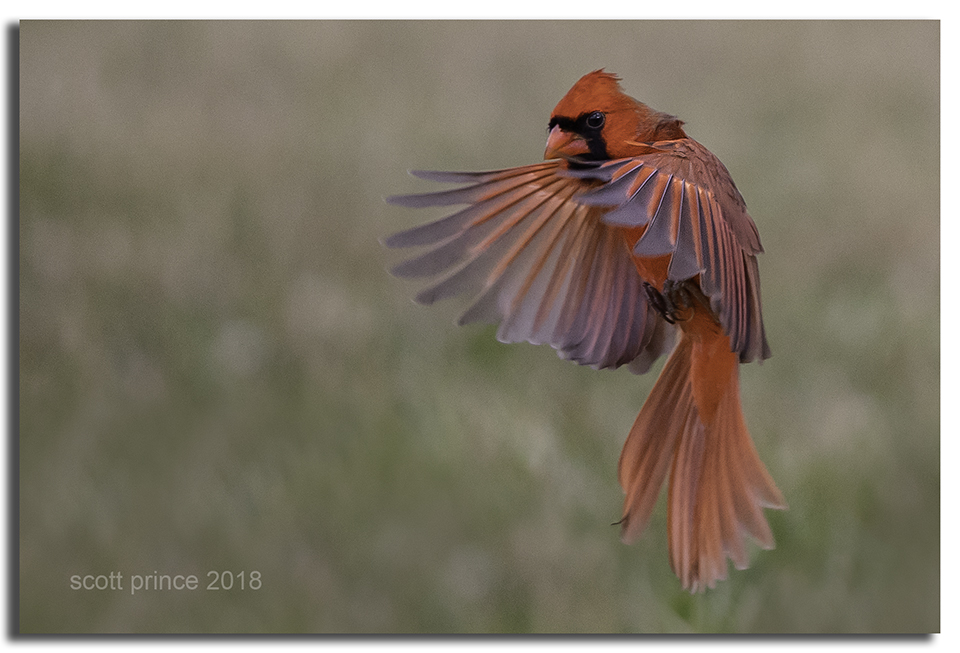
Here’s a shot where the lighting is poor, but I loved the pose so much I couldn’t delete it. The Sun is too high in the sky beaming down on top of the bird’s head while the rest of the bird is in shadow


