’ve fallen in love with props and now use them extensively. They add realism to your images.
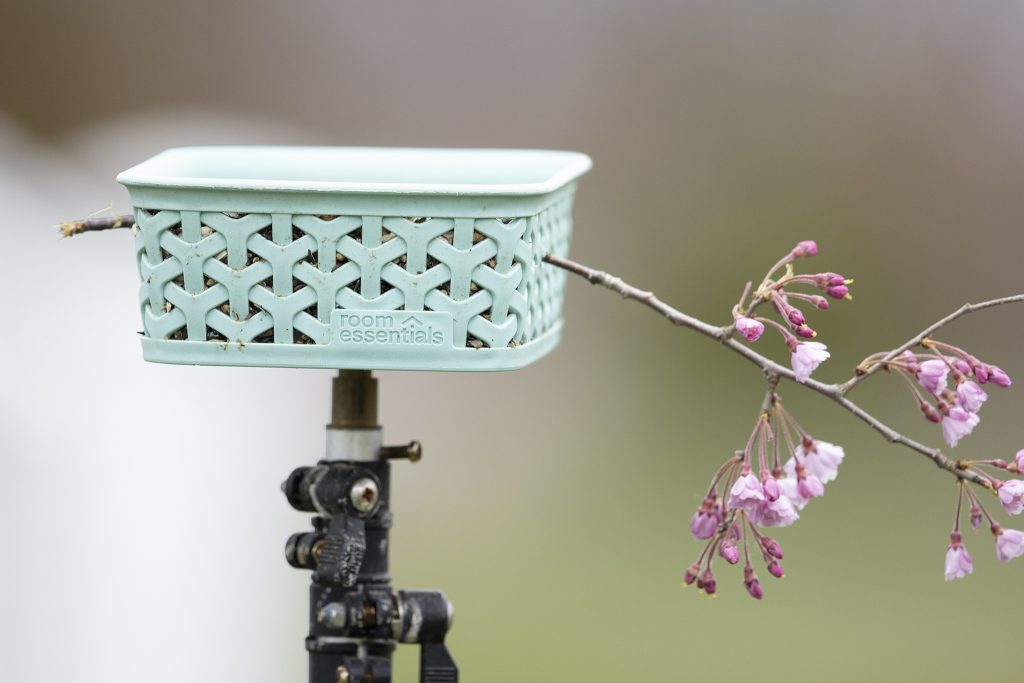
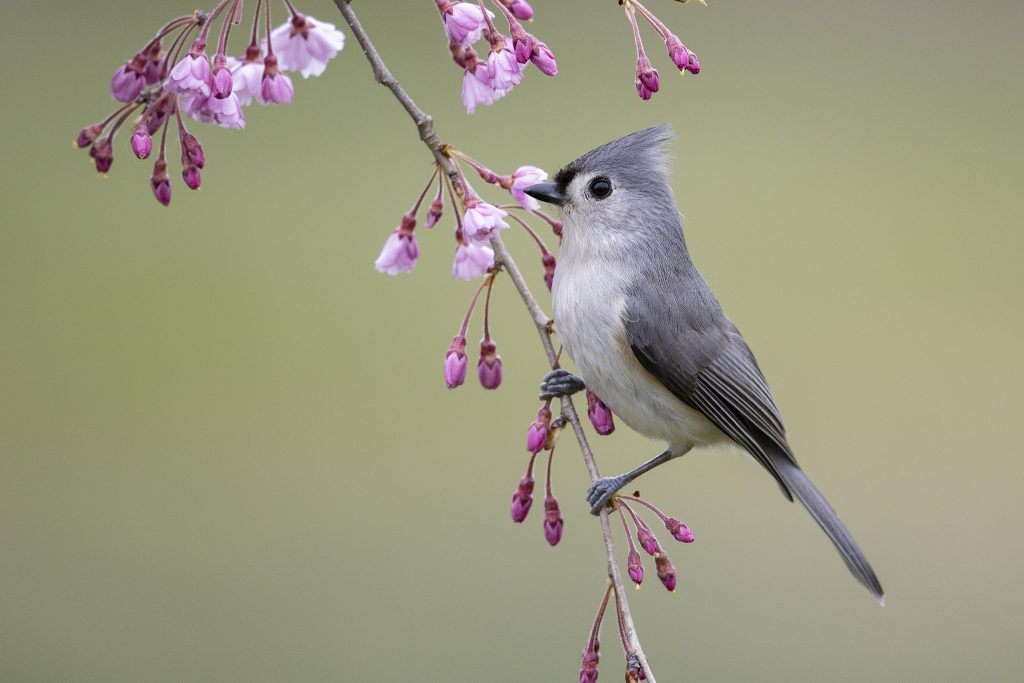
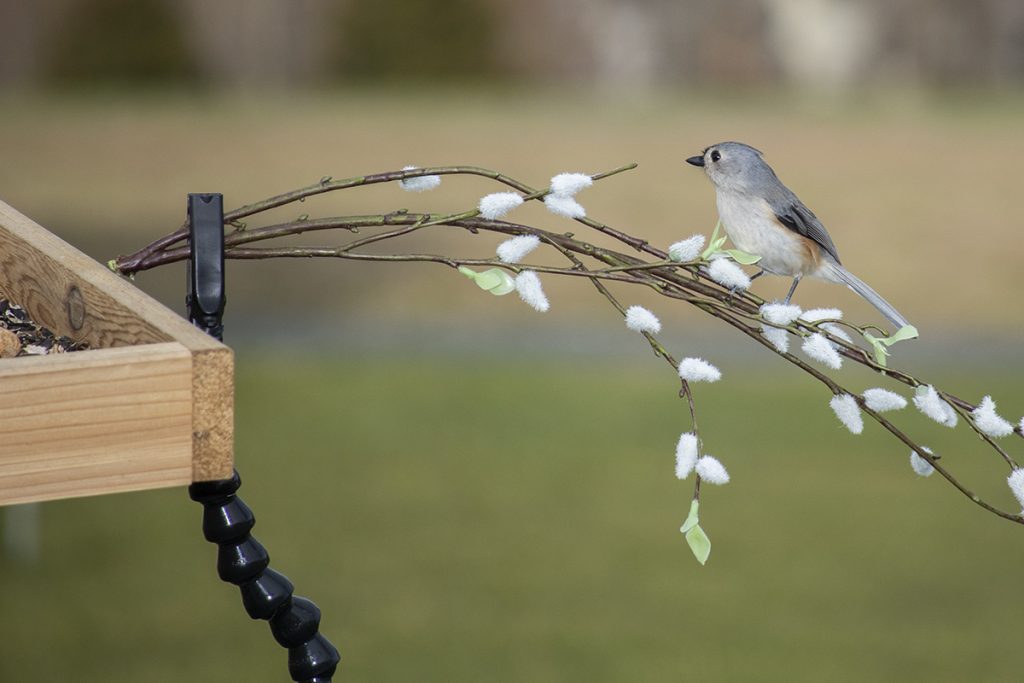
Screw a small Tupperware cup on the back of a piece of wood and you have an instant feeder. Whenever I venture out into the woods or a refuge, I keep a good eye out for some cool looking props. When using them, try not to go overboard and use the same one repeatedly. Rotate through them and no one will notice. I have about 4-5 nice branches and a really cool rotten tree stump I cut down. Here’s a few image using props.
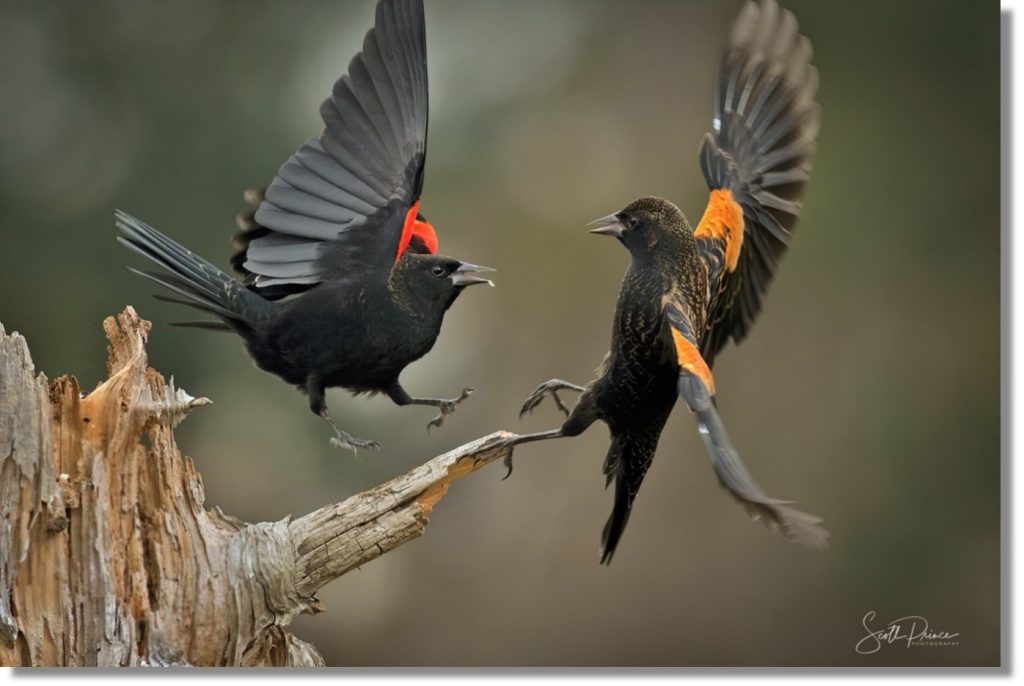
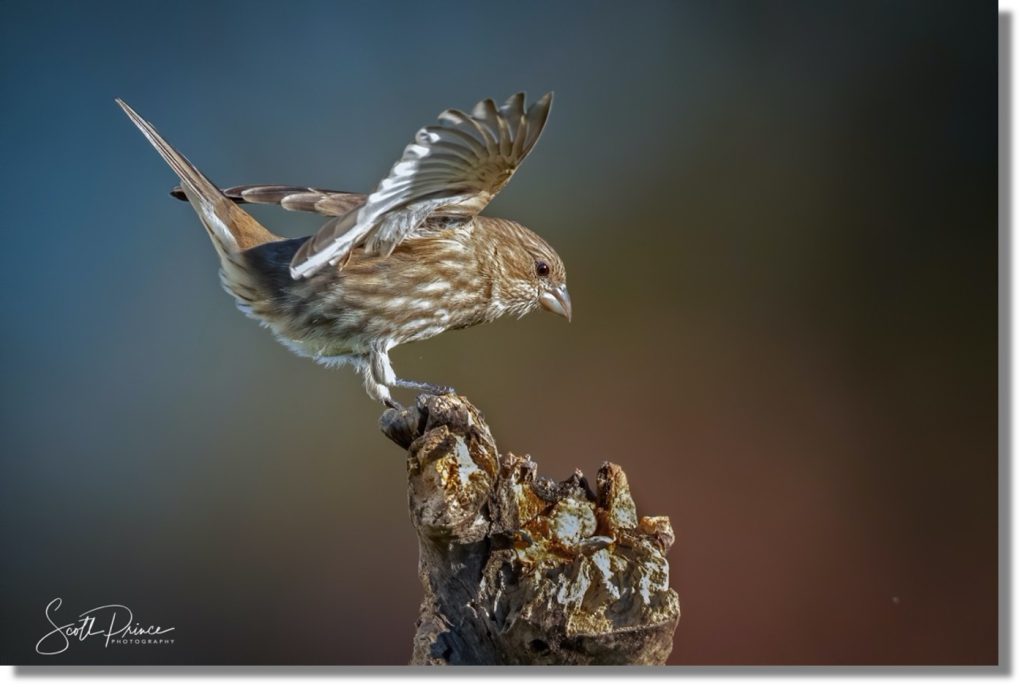
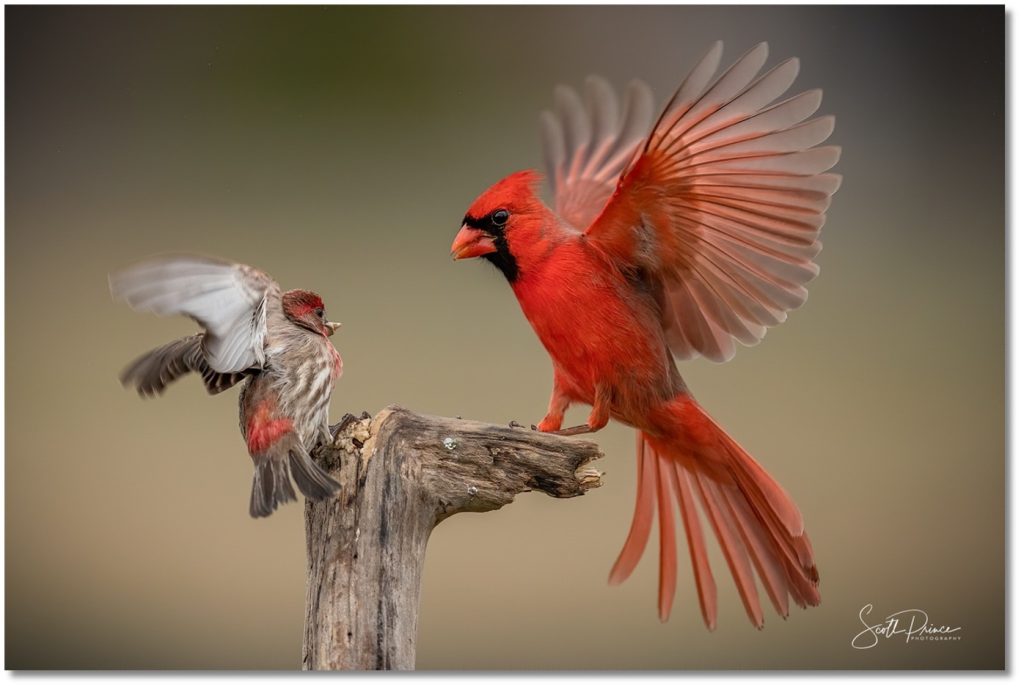
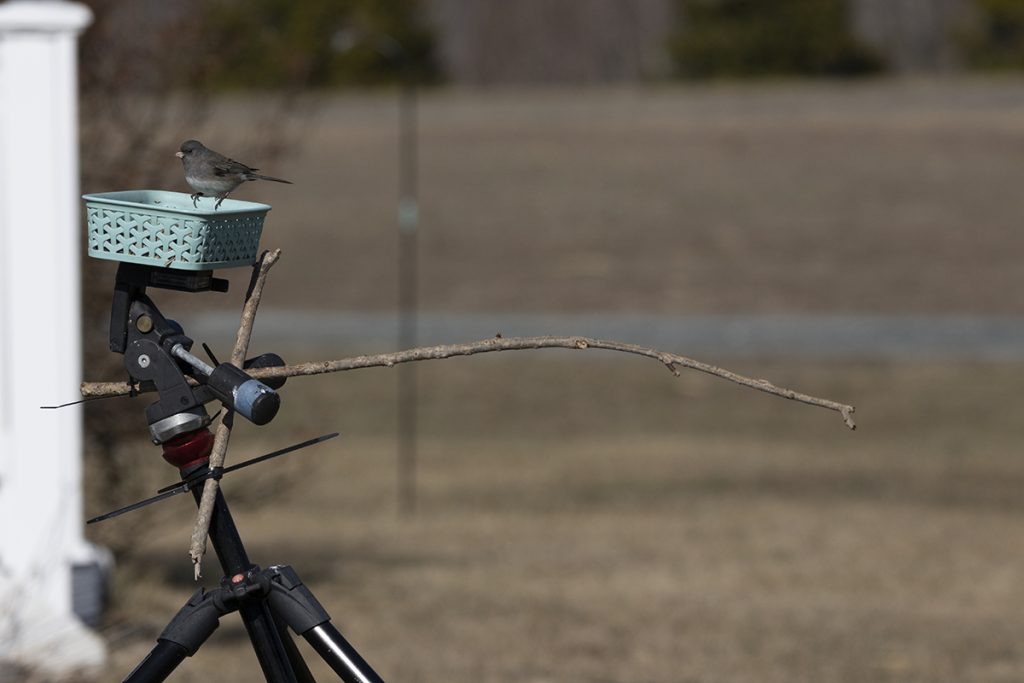
On the props above, I manually focus on a small branch that extends out from the main stump, then focus just a smidgen past the branch to get the bird in focus right before it lands. If you focus on the branch, the bird won’t be in focus until it actually lands on the perch so always focus a bit behind the branch to get the cool wingspan shots.
Trying to get the bird in focus is a bit more challenging and requires some trial and error. Just like the standard feeders, the bird may be out of focus in a lot of images, so keep trying.
Depending on the area the bird fly’s in from will determine where to focus. Again, by watching and observing the flight path the birds take in your yard, you’ll soon be able to predict from which point(s) they will arrive.
Once you establish that, focus behind the prop, or to the left or right of it. Unlike the feeders where we don’t want them showing in the final image, we want to see the prop, or some of it. The stump I have is large, way larger than the birds, and most of the birds are small. We don’t want to have an image where most of the frame is the prop and a small bird, so crop accordingly. This normally is not an issue with a tree branch.
A couple of notes here. You can place your prop near a feeder and the birds will naturally land on it, or, you can use only the prop. If you choose to just use the prop, you will have to cut or drill small pockets that can hold bird feed.
In the images of the stump, I used a spade bit on my drill to create a well that can hold seed. It was easy to do and works really well. When I use the stump I usually take the other feeder down, this insures all the birds will land on it.
As I mentioned earlier, you can either get a shot of the bird landing using manual focus or BBF, or, after the bird lands quickly switch to AF and try to get one or two shots as it flies away. Personally, I like to use the landing technique; I’m not a big fan of looking through the viewfinder for 5 minutes hoping the bird takes off. And speaking of that, as soon as you stop looking, it will take off LOL.
On some of my props I have drilled or carved out areas to place seed in. IF you are using only a small branch, you will still need a food source. I normally place the feeder somewhat close to my props because the birds will fly back and forth from the feeder to the prop.
TIP: I place the feeder closest to the Sun. Most birds will land on the prop first, then stare at the feeder. So now the bird will be flying into the Sunlight. A side note here: If you place the prop too close to the feeder, the birds will only “Hop” off the prop and land on the feeder. The caveat is if the prop is too far away, more than likely less birds will land on it, so you’ll have to figure out what works best in your yard.
In a set up like this, normally you will get a shot of the bird spreading its wings as it begins to leave the prop, but their cool shots also. A bit artsy and dramatic, I think.
So now the bird is on the prop, when will it leave? Who knows, you’ll have to be ready. I normally start shooting as the bird lands on the prop, is facing the Sun, until it’s out of frame.
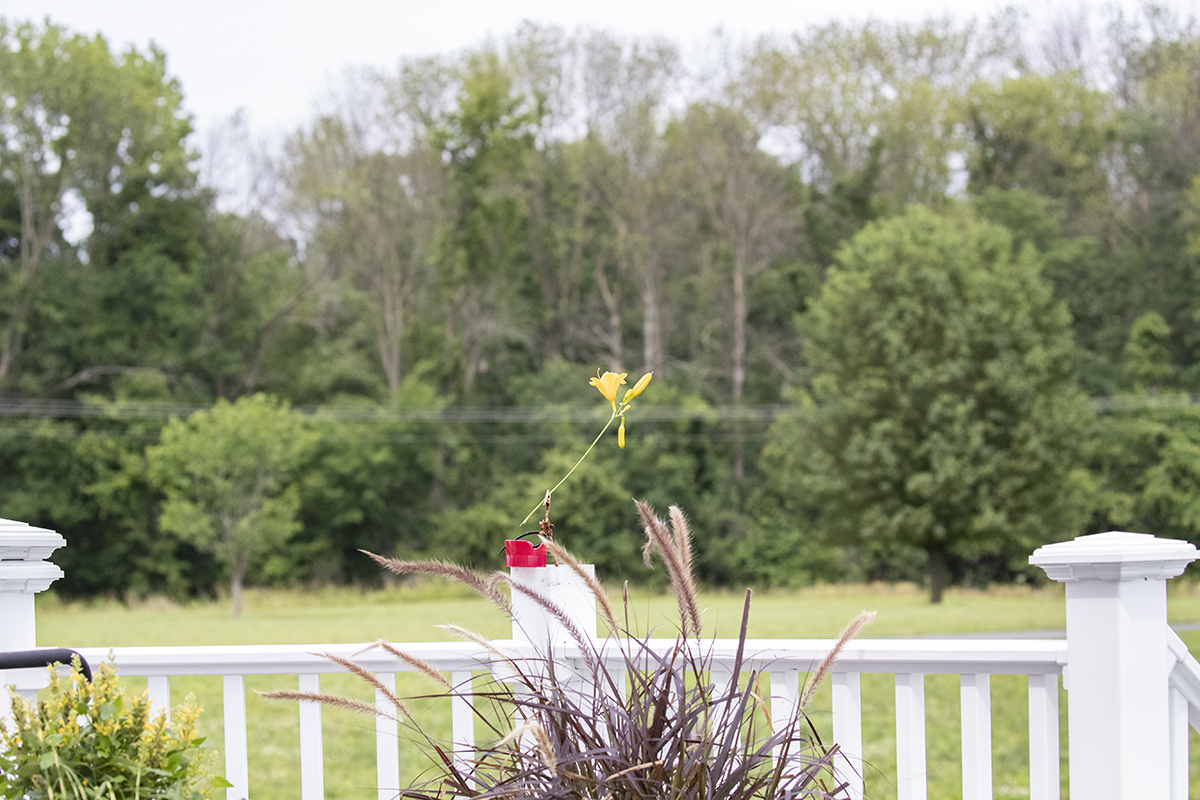
Here are more examples of using props.
Click on the video links below. They are on my Youtube channel.
